How to Use Coaxial Attenuator for Better Signal Quality?
In the world of telecommunications, ensuring signal clarity is vital. A poorly optimized signal can lead to significant data loss and interference. One invaluable tool for enhancing signal quality is the Coaxial Attenuator. Expert John Smith, a recognized leader in RF technology, notes, "Using a Coaxial Attenuator can simplify signal management and improve overall performance."
Coaxial Attenuators are designed to reduce signal strength while maintaining integrity. This feature proves crucial when dealing with high-power signals that risk damaging sensitive components. However, locating the appropriate attenuator can often present challenges. Understanding the required attenuation values is essential. It's not uncommon for users to miscalculate, degrading performance instead of enhancing it.
Adopting a Coaxial Attenuator requires careful thought. Many underestimate how the wrong specifications can lead to regrettable outcomes. Optimal usage includes determining the correct placement within a setup. Practicing diligence in these aspects can significantly improve your signal quality and ensure a more resilient communication infrastructure.
Understanding Coaxial Attenuators and Their Functionality
Coaxial attenuators are essential components in signal transmission. They help manage and reduce signal strength to prevent distortion. When signals are too strong, they can cause interference, leading to poor audio or video quality. Understanding how to use coaxial attenuators can enhance your equipment's performance.
Proper installation is crucial. Ideally, place the attenuator close to the signal source. This helps maintain strong and clear signals. Ensure your connections are tight to avoid signal loss. It’s also vital to select the right attenuation level. Too much reduction can weaken the signal. Calculate your needs carefully for the best results.
Tips: Always check your cable quality. Poor cables can negate the benefits of using an attenuator. Regular maintenance is key. Inspect and replace worn-out cables to keep your system running smoothly. Keep an eye on signal levels. This allows you to adjust the attenuator as needed, ensuring optimal performance.
Identifying Signal Quality Issues in Coaxial Systems
Identifying signal quality issues in coaxial systems can be challenging. Physical damage to cables is one common problem. A frayed or bent cable can distort signals. Check for visible wear and tear. Look for signs of moisture or corrosion as well. These factors can lead to poor performance.
Signal integrity can also be affected by improper connections. Loose or dirty connectors might cause intermittent issues. Always inspect the connectors. Clean them with the right solvents. This can improve your overall connection.
Tips: Regularly test your coaxial system. Use a signal meter to measure signal strength. If the reading falls below the standard, investigate further. Consider using a coaxial attenuator. It can help manage levels if your signal is too strong. Adjusting this can optimize performance.
Selecting the Right Coaxial Attenuator for Your Needs
Choosing the right coaxial attenuator is crucial for optimizing signal quality. The attenuation level you require depends on your specific application. For instance, if you are working with high-frequency signals, precision is vital. Data shows that a poorly selected attenuator can drop signal quality by as much as 20%. This drop affects performance.
Think about your setup. Determine the frequency range and power levels you expect. Some applications might demand a 3 dB attenuator, while others may require as much as 30 dB. Finding the right fit ensures that your signal remains clear. Measure the impedance of your system; typically, 50 or 75 ohms.
Tips: Always confirm the maximum power ratings of your attenuator. Do not underestimate the environmental factors. Excessive heat can degrade the component's performance over time. When uncertain, consult industry reports or technical documents. Performance testing can identify any unexpected problems. Strive for the ideal balance, but prepare for potential mismatches. Understanding specifications helps prevent signal degradation and enhances performance.
How to Use Coaxial Attenuator for Better Signal Quality? - Selecting the Right Coaxial Attenuator for Your Needs
| Attenuator Type | Frequency Range (MHz) | Insertion Loss (dB) | Power Rating (W) | Applications |
| Fixed Attenuator | 1-1000 | 1 | 5 | Signal Conditioning |
| Variable Attenuator | 0.1-3000 | 0.5 | 10 | Test Equipment |
| Lumped Element Attenuator | 1-1000 | 2 | 3 | RF Applications |
| Digital Attenuator | 100-4000 | 1.5 | 20 | Data Transmission |
| Coaxial Cable Attenuator | 1-2000 | 0.8 | 15 | Broadcasting |
Proper Installation Techniques for Coaxial Attenuators
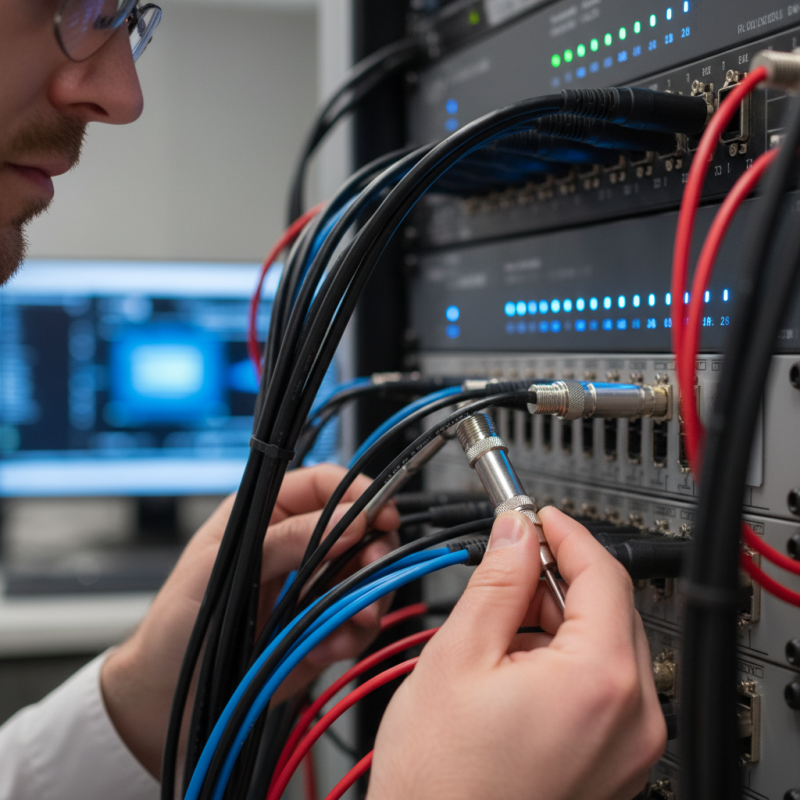
When installing coaxial attenuators, proper techniques are crucial for achieving optimal signal quality. Start by checking the cable connections. Make sure they are clean and tight. Loose connections can cause signal loss or interference. It’s essential to use the right tools. A torque wrench can help tighten connectors without damaging them.
Next, consider the placement of the attenuator. It should be installed as close to the source of the signal as possible. This minimizes potential signal degradation. Don’t rush this step. Measuring the distances and angles can make a big difference.
Also, be mindful of the environment where the attenuator is installed. Avoid areas with excessive moisture or extreme temperatures. These factors can affect performance. It's valuable to examine your setup regularly. Sometimes, issues arise from external sources, like nearby electronics. Small adjustments can lead to significant improvements.
Testing and Measuring Signal Improvement Post-Installation
Testing a coaxial attenuator can drastically improve your signal quality. Proper measurement techniques are essential. Start by using a signal strength meter and comparing readings before and after installation. According to industry reports, a well-calibrated attenuator can reduce signal distortion by up to 30%.
After installation, assess the signal levels across different frequencies. Keep an eye on any variability. In some cases, immediate improvements might not be apparent. You might have to wait for a few hours to notice better clarity in your signal. Not all installations yield improvement. Factors like cable quality and environmental interference remain significant.
Monitor the changes using a dedicated app or device. Documenting these measurements helps track performance over time. Record the conditions under which you're testing. Industry studies highlight that external factors can impact results by as much as 20%. The landscape is not always perfect. Sometimes, the ideal setup requires tweaking after initial tests.